Table Assembly
Overview
The instructions below are there to guide you as you assemble the Swift Pour Demo Table. There are a range of components and instructions to help you as you go.
Requirements
| Requirments |
| No.3 Allen Key |
| No.13 Spanner |
| No.10 Spanner |
Components
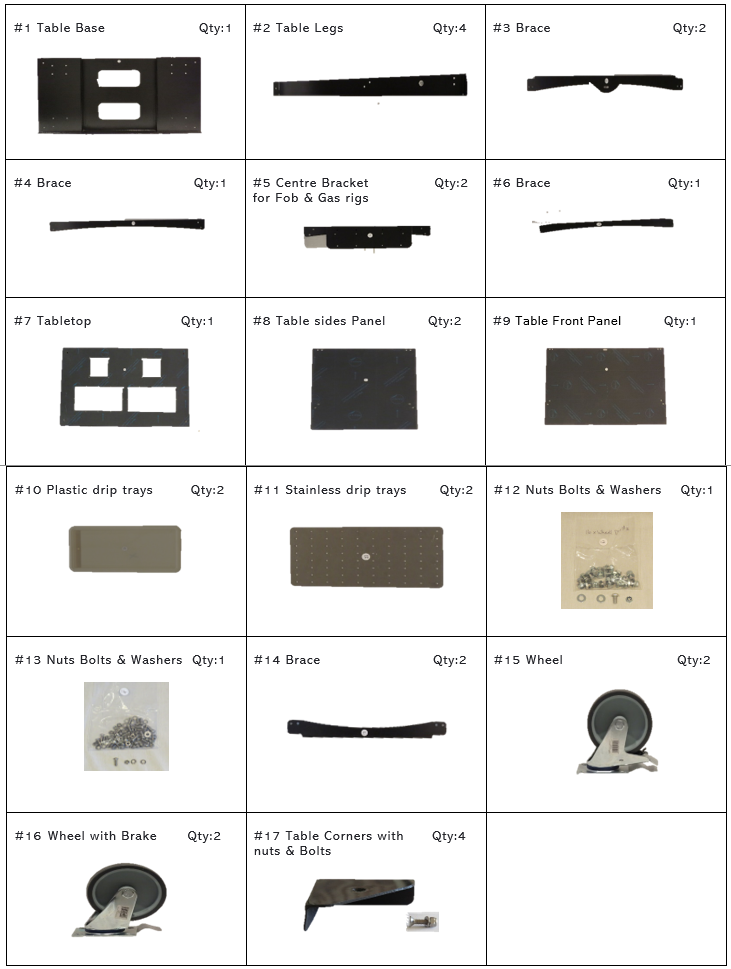
Table Assembly
| Image | Instruction |
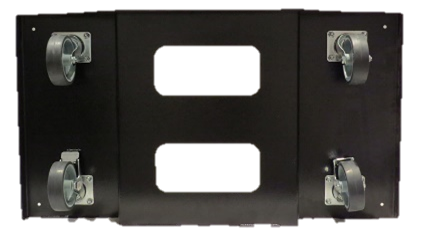 |
Attach wheels (#15 & #16) to the base (#1). Place Wheels with breaks (#16) at the back |
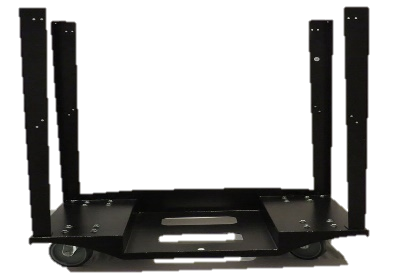 |
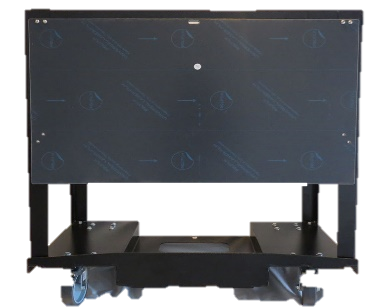
Attach the 4 Legs (#2) to the base (#1) that the wheels have been added to |
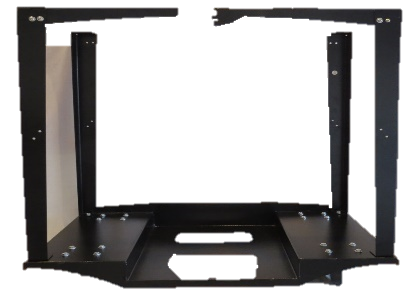 |
Attach the first Brace (#3) onto the top if the back legs |
 |
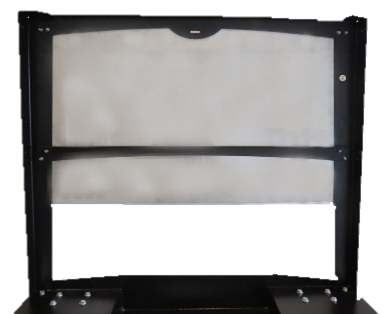
Attach the Table Front panel (#9) together with the 2nd Brace (#3) to the top of the two front legs. The front panel and the brace must be attached at the same time |
 |
Attach Brace (#4) to the front of the legs. Make sure to place this in the middle of the frame |
 |
Attach brace (#6) from the centre of the front brace (#3) across to the centre of the back of the frame |
 |
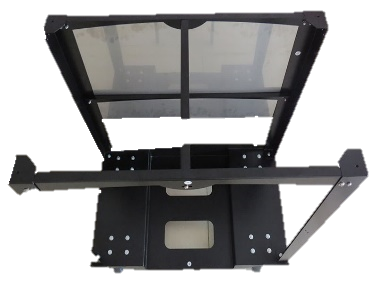
Attach Brace (#15) and Table Side Panels (#8). The Side Panel and the Brace must be attached to the front and back kegs. Repeat this on both sides |
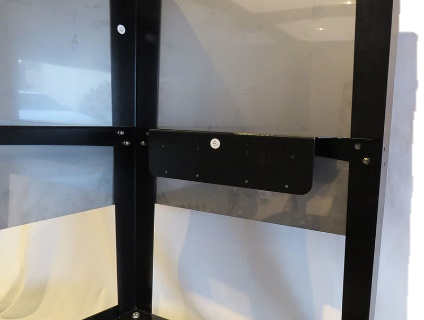 |
Attach Centre Bracket (#5) to the middle of the front and back legs, and the side panels. Repeat on both sides. The Centre Bracket is used to attach Fob Drop and secondary Regulator |
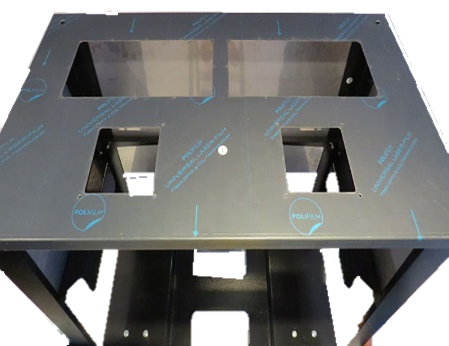 |
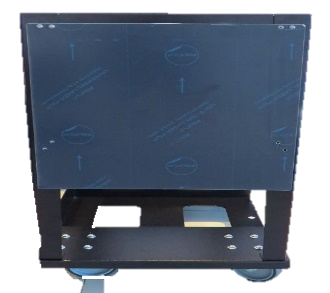
Place Table Top (#7) onto the frame with the two drip tray holes facing the front of the table |
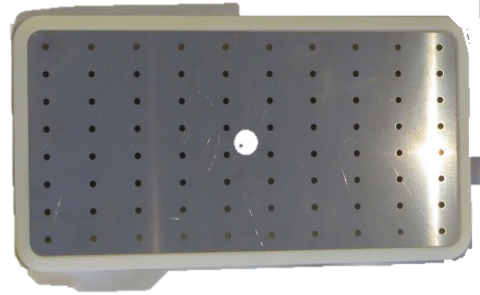 |
Insert the stainless drip tray (#11) into the plastic drip tray (#10). Repeat for both |
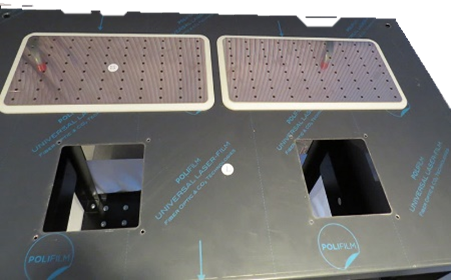 |
Place the Drip Trays (Assembled above) into the Table Top. Repeat for both |
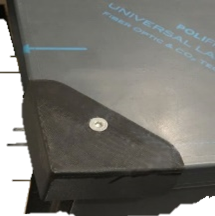 |
Screw the Caps (#17) onto the 4 corners of the Table Top |