RUT Setup
As internet plays a pivotal role in the Swift Pour solution, we recommend the Teltonika RUT as a LTE Router to provide you with multiple connection options.
We can use most of their Cellular Routers, but we highly recommend the RUT240 or similar, if this is not available in your region. Please consult Swift Pour for an alternative.
https://teltonika-networks.com/products/routers/rut240
Swift Pour has also partnered with a Global N-IoT provider to provide global internet connectivity. These SIM cards will automatically connect to the strongest signal provider in the area, and will hop to alternative providers if the connectivity degrades. If you would like a SIM card please arrange with Swift Pour. Please note there are annual costs for SIM connection & separate data costs.
Below is a basic setup of the above components.
Prerequisites:
- Teltonika Cellular Router
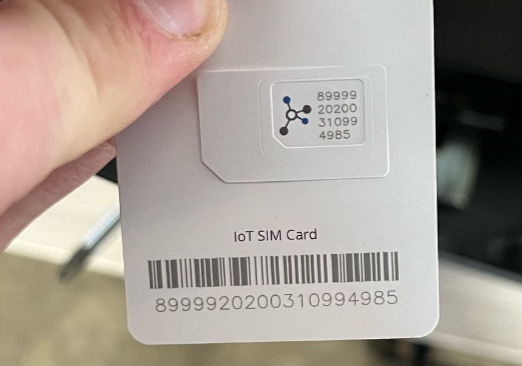
- Swift Pour SIM Card
- RMS Company Registration
- Ask Swift Pour to create your company and invite you to the RMS system
- Registration is Free. There are Annual costs to make your Teltonika Device accessible
- Hardwired LAN internet connectivity
1. Device Registration
Once you have received your invitation link to RMS and you have registered your account, we will need to register the device so that we can setup the router to work within your organization.
In order to do the we will need the following information from the back of the router:
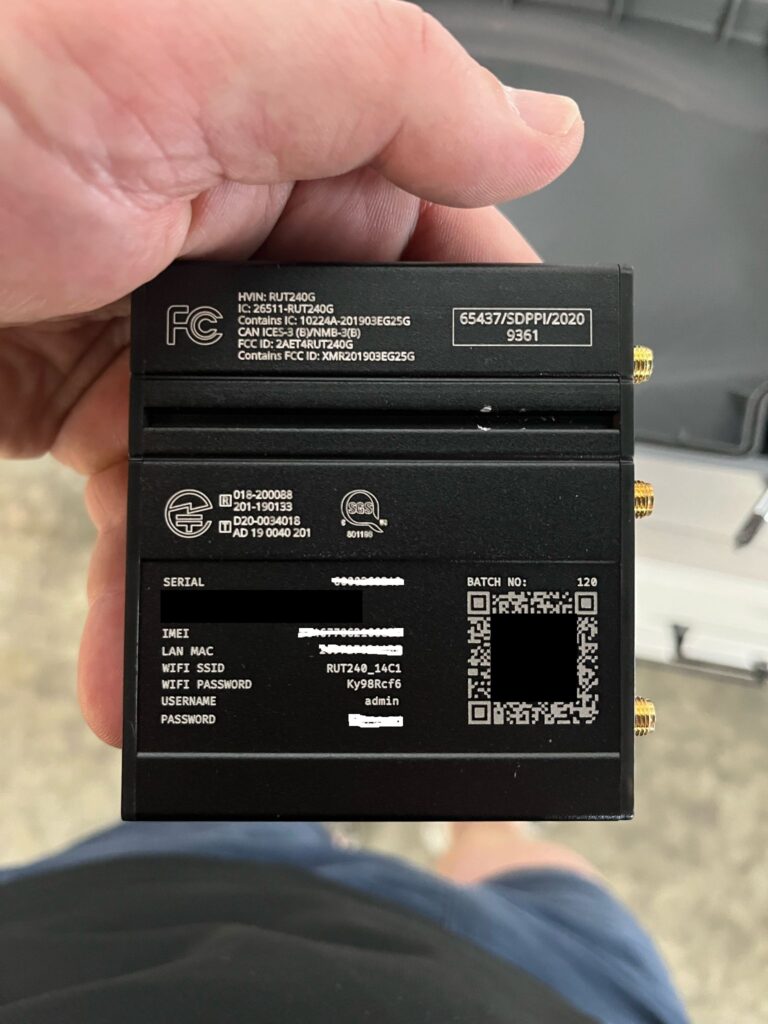
- Serial No
- LAN Mac
- Username
- Password
Please ensure that the provided SIM card is inserted
Insert the hard wired ethernet cable into the WAN port on the RUT, and use the supplied Power Adapter to power the device up.
Login to RMS and select the “Add” Button

Select RUT and capture the required information. As a suggestion sequentially name your device e.g RUT240_7.
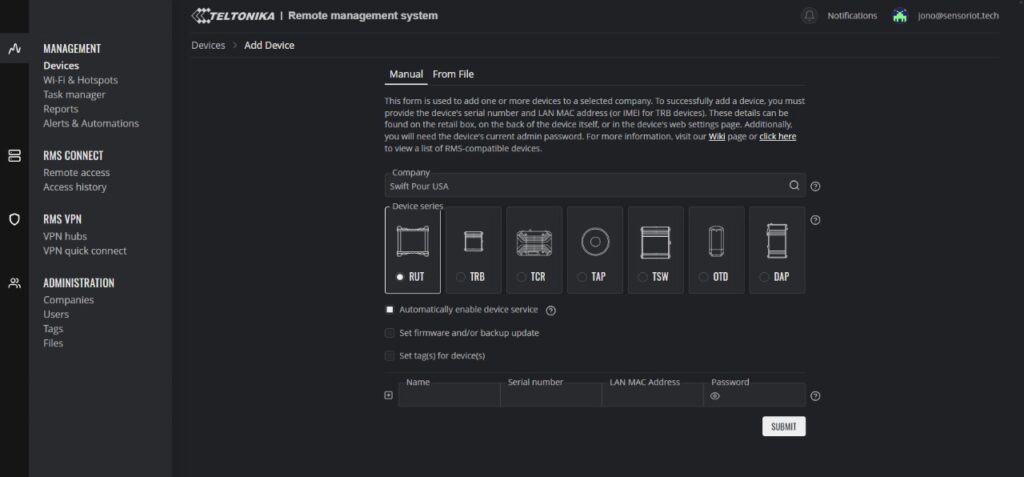
Use Tag to assist with better defining where your RUT will go, and then select Submit

You will be redirect back to your devices list, notice that the new device has been added and the status is “grey” (offline).

Wait roughly 5 minutes for the device status to change “green” (online).

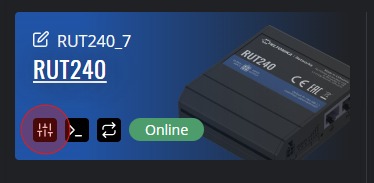
When online, select the Information Circle under the actions column to view the device details page
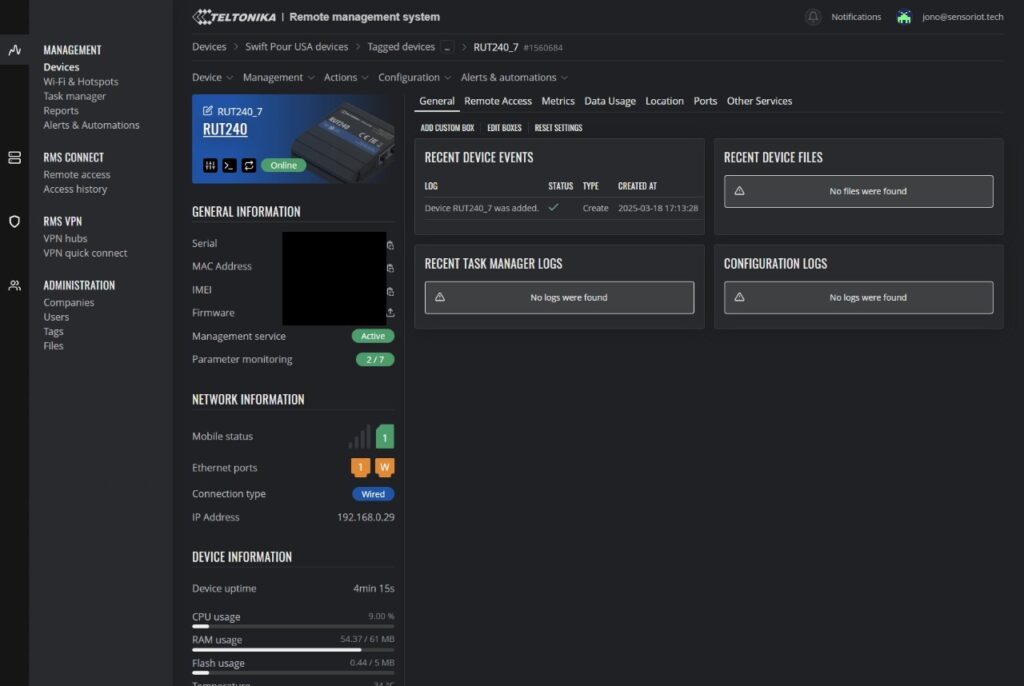
Will will no need to configure the device for the first time. Please click on the WebUI button. Highlighted in red.
2. Access Web UI
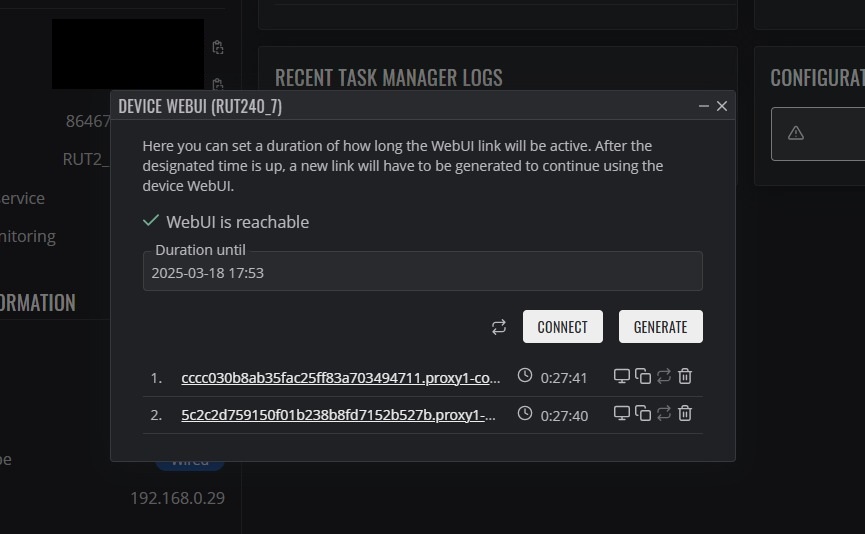
After clicking the WebUI icon, you will be presented with a pop up to generate a link. This link is used to configure the device remotely.
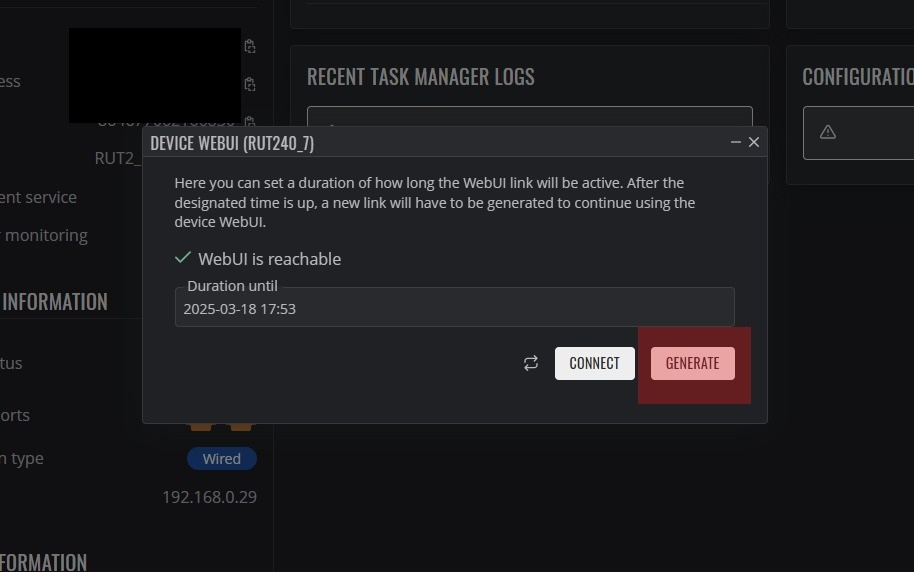
Wait for the link to be generated and then click on the provided link.
2. Device Configuration
For the first time login, you will use the username and password that is displayed on the back of the device. Please note, do not use the WIFI details.
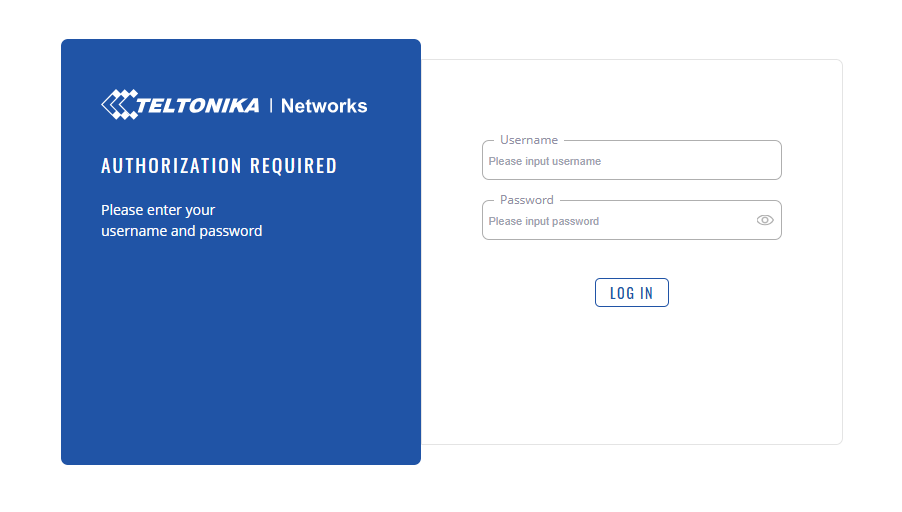
After logging in for the first time, you are prompted to change the password. In order to simplify access, we use a standard Password, please consult Swift Pour for this detail. Use the provided password in the following screen

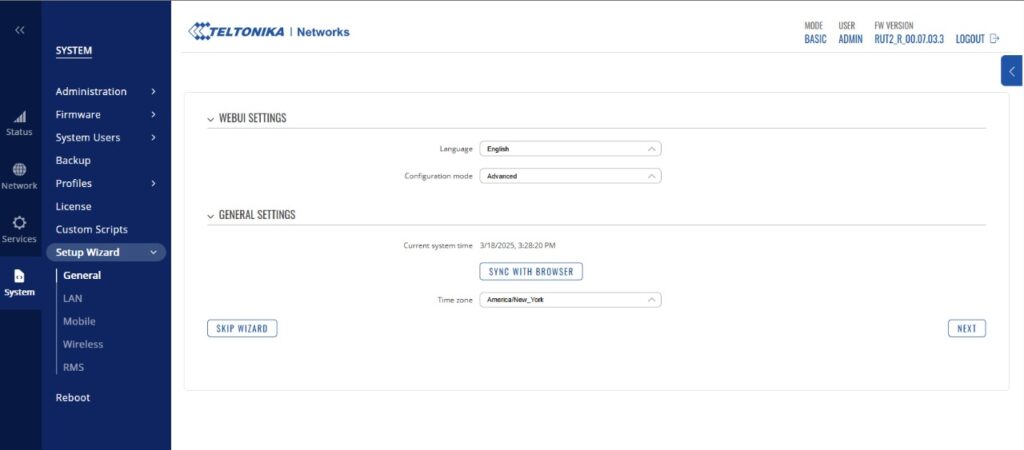
You will now begin the Setup Wizard. Change the WebUI settings configuration mode to Advanced. and set the appropriate timezone and select next
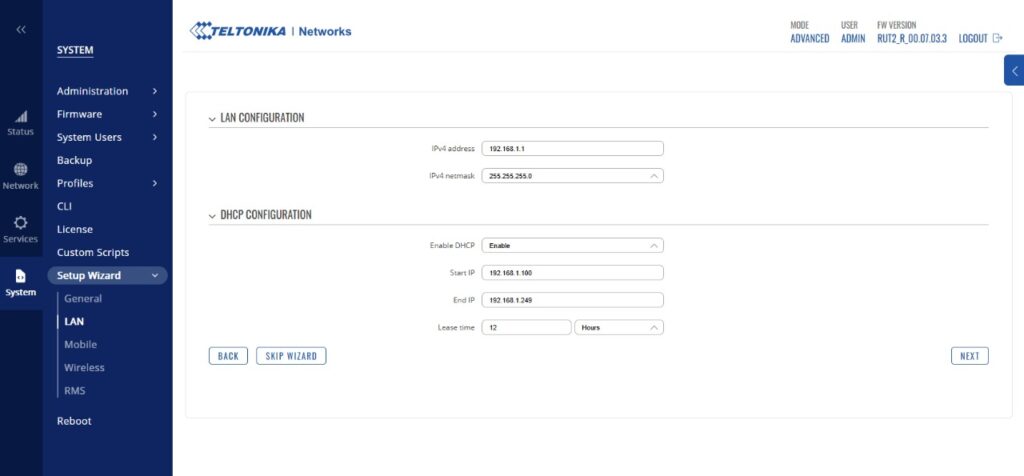
Leave the LAN & DHCP Configuration as is and select next.
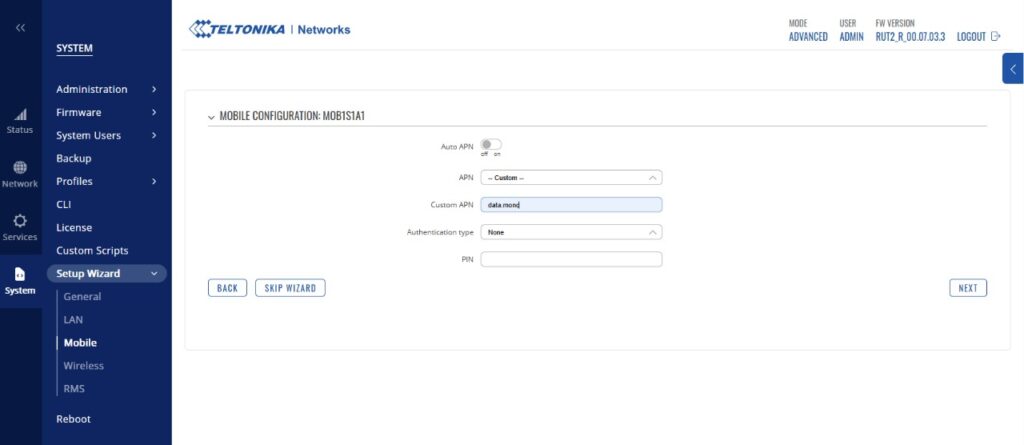
Change the Auto APN to off and make sure that you are using the — Custom — APN. Update the custom APN to the following : data.mono. No authentication is required and select next.
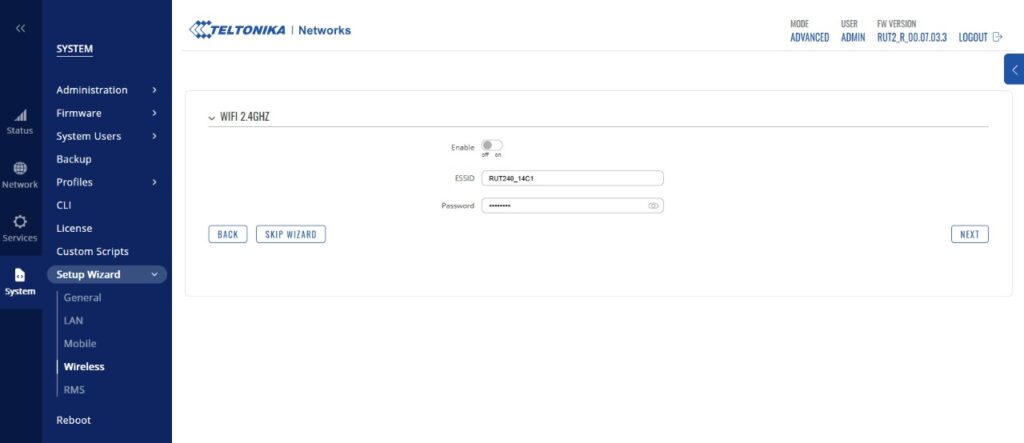
For security reasons we turn off the WIFI settings, but in certain circumstances and depending on your setup, this might be required. Select next to continue.
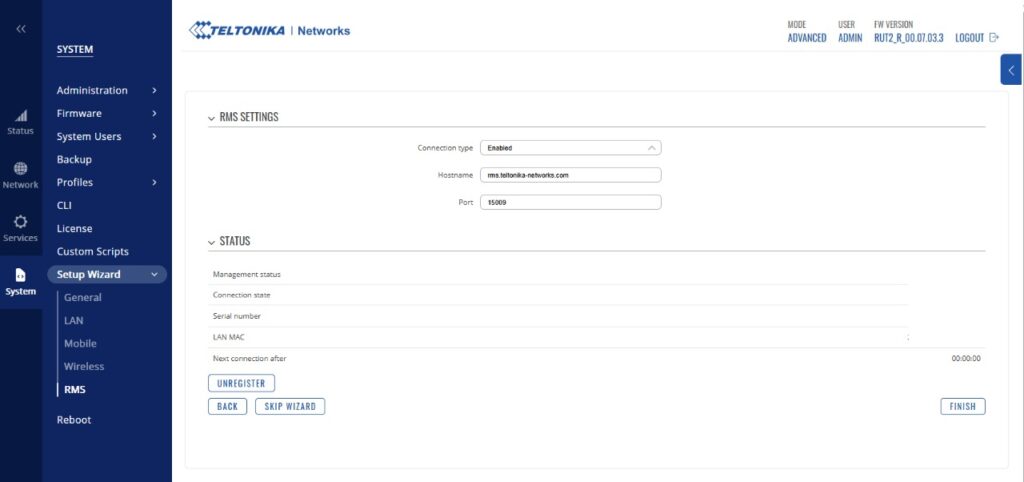
Leave the RMS settings as is, this is required to manage your device via RMS. Select Finish
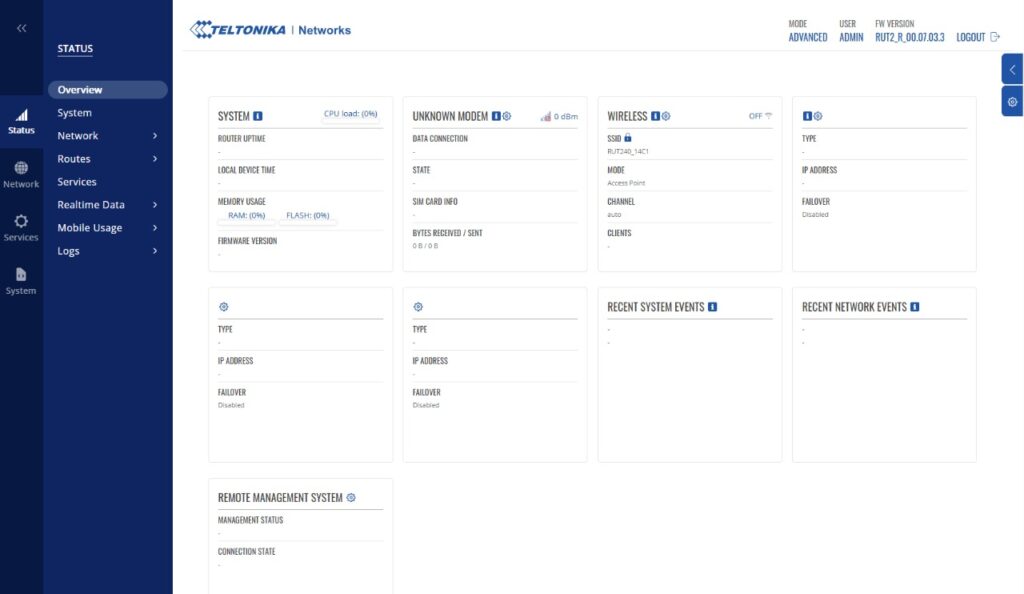
You will now be presented with the Status Overview screen. If you are seeing this screen and have not gone through the Setup Wizard. You can do so by clicking on System and selecting the Setup wizard.
We now need to configure the interface priority. To tell the device what order to search interfaces to find internet connectivity. To do this , on the right hand side menu, click network and then select interfaces.
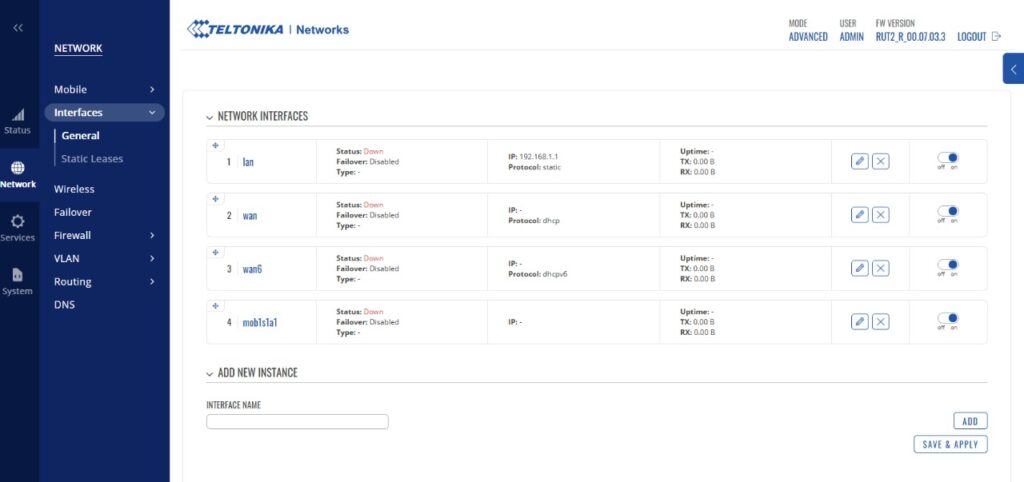
Using the cross hairs, you are able to drag the interfaces into the desired order. As a recommendation we order WAN first and then mob1s1a1 second and select Save & Apply. This tells the device, to use the WAN connectivity first if present, if not, then use the mobile SIM card. This configuration can be different depending on your requirements.

To test that all is working. Power off the device, unplug the network cable from the WAN port. Power up the device and wait for it to come online in RMS, make sure that you can login to the WebUI using the username and provided password. If you can complete these steps, then all is in order. This means that you are connected to the internet using the SIM card. If ever you have a problem with the SIM Card, you can plug in a hard wired ethernet cable into the WAN port and inspect the device to debug.